The Complete MTG Draft Guide: How to Draft Like a Pro
Booster draft is one of the most skill-testing and rewarding formats in Magic: The Gathering. Unlike constructed formats where you bring a pre-built deck, draft puts every player on equal footing: you open packs, pick cards one at a time, and build a deck on the fly. It rewards card evaluation, adaptability, and reading what your neighbors are doing. Whether you're preparing for your first Friday Night Magic draft or looking to sharpen your competitive edge, this guide covers everything you need to know.
How Does Booster Draft Work?
A booster draft starts with 8 players seated around a table, each with 3 unopened booster packs. Here's how the process works:
- Pack 1: Everyone opens their first pack simultaneously, picks one card, and passes the remaining cards to the player on their left.
- Continue picking: You receive the cards passed to you, pick one, and pass the rest. This continues until all cards in the pack are drafted.
- Pack 2: Everyone opens their second pack and repeats the process, but this time passing to the right.
- Pack 3: Open the third pack and pass to the left again.
After all three packs are drafted, you build a 40-card deck from your pool, adding as many basic lands as you need. You'll end up with roughly 42-45 drafted cards, but your deck only needs 23 non-land cards plus 17 lands.
The BREAD Method: Prioritizing Your Picks
BREAD is a classic framework for evaluating which cards to pick first. While experienced players have refined it over the years, it remains an excellent starting point for learning card evaluation in Limited.
B — Bombs
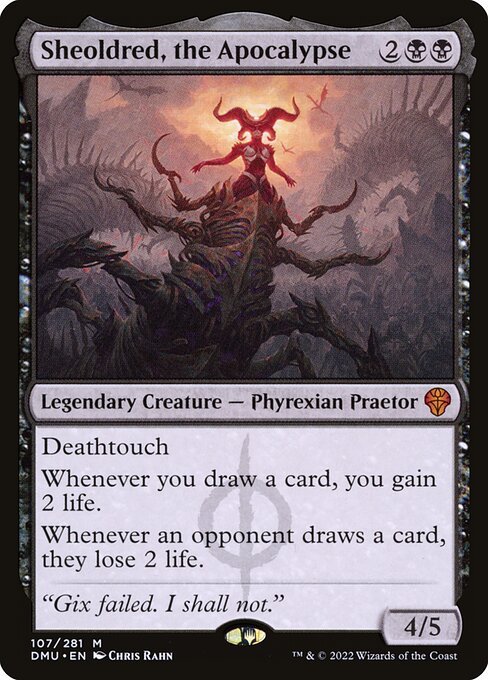
Bombs are cards that can single-handedly win the game if left unanswered. These are typically powerful mythic rares or rares — think planeswalkers, huge creatures with evasion, or spells that generate overwhelming advantage. When you open a bomb, you almost always take it first regardless of color.
R — Removal
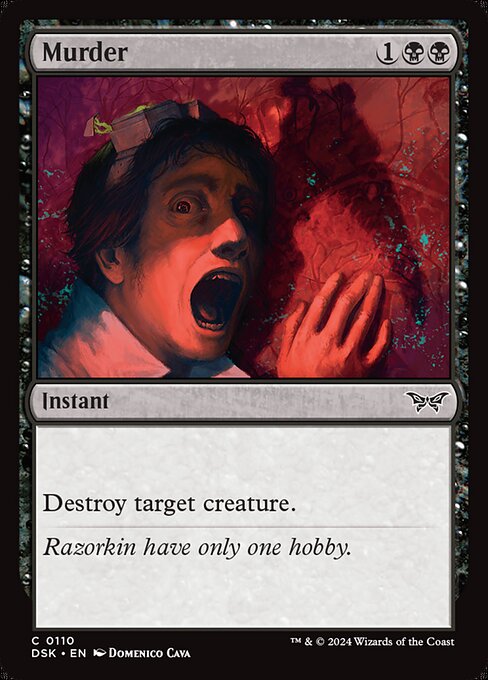
Removal spells are the backbone of any limited deck. Cards that destroy, exile, or neutralize opposing creatures are crucial because they answer your opponent's threats — including their bombs. Common removal like Murder or Shock should be prioritized highly.
E — Evasion
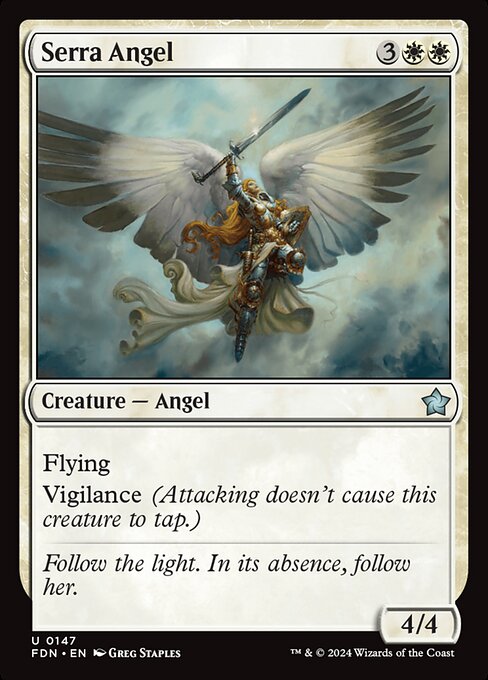
Evasion creatures are those that are difficult to block. Flying, trample, menace, and unblockable abilities let you push through damage in board stalls. A 3/3 flyer often wins more games than a 5/5 ground creature because it can attack over a clogged battlefield.
A — Aggro / Card Advantage
This tier covers efficient creatures that curve well and spells that generate card advantage. A solid 2-drop creature or a spell that draws you extra cards falls here. These cards aren't flashy but they're the foundation of a consistent deck.
D — Duds
Duds are highly situational cards, overcosted effects, or cards that simply don't do enough. Avoid drafting these early — they're the cards you wheel around the table or pick up as your 14th card because there's nothing else left.
Reading Signals: The Key to a Great Draft
Signals are the most important advanced concept in drafting. When a powerful card in a specific color is passed to you, it's a signal that the player to your right isn't in that color. Reading signals correctly lets you draft the colors that are most open at your seat, resulting in a more powerful deck.
How to read signals in practice:
- Pack 1, Picks 1-4: Stay flexible. Take the strongest card regardless of color. Don't commit yet.
- Pack 1, Picks 5-7: If you see strong cards in a color you've been picking, that color is open. If a great uncommon in a color wheels to you at pick 6-7, that's a very strong signal.
- Pack 2: You're receiving signals from the player on your right (opposite direction). If the signals conflict with Pack 1, prioritize Pack 1 signals since you'll receive two packs from that direction.
- Pack 3: Your colors should be locked in. Focus on filling gaps in your curve and picking up key spells.
Building Your Mana Curve
Your mana curve — the distribution of spells across mana costs — is one of the most important aspects of deck building in Limited. A good curve lets you play threats every turn and avoid getting run over by faster decks or flooding out against slower ones.
The ideal Limited mana curve:
- 1-2 mana: 6-9 cards. These are your early plays. Two-drop creatures are especially valuable.
- 3 mana: 5-6 cards. The backbone of most decks. Three-mana creatures should be efficient.
- 4 mana: 3-4 cards. Your mid-game threats. Cards here should have significant impact.
- 5+ mana: 2-3 cards maximum. Your top end. Only include cards that can take over the game.
The 17-Land Rule
Run 17 lands in most Limited decks. This gives you roughly a 40% land ratio, which is correct for most strategies. When to break this rule:
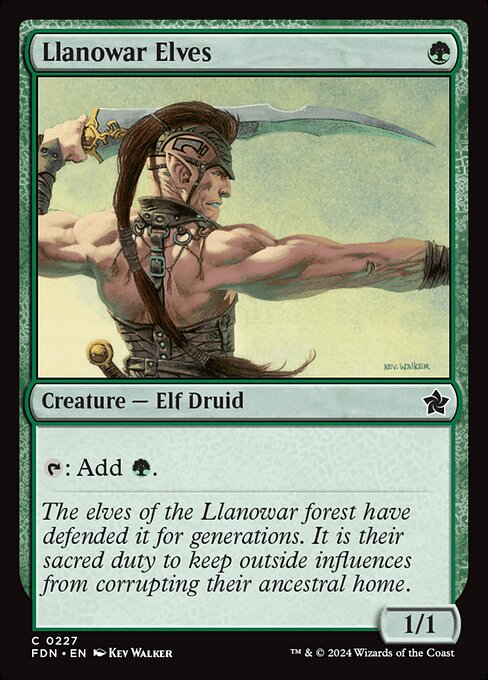
- 16 lands: Only if your curve is very low (almost nothing above 3 mana) and you have mana creatures like Llanowar Elves.
- 18 lands: If you have many 5+ mana cards, expensive activated abilities, or multiple splash colors.
Understanding Color Pair Archetypes
Most modern MTG sets are designed with 10 two-color archetypes in mind, one for each color pair. Understanding these archetypes helps you identify synergies during the draft. Look at the signpost uncommon for each color pair — these gold cards at uncommon rarity literally tell you what the archetype wants to do.
Common archetype themes include:
- White-Blue (WU): Flyers — win in the air with evasive creatures and tempo spells
- Blue-Black (UB): Control — grind out card advantage and use removal to dominate
- Black-Red (BR): Aggro/Sacrifice — fast creatures and sacrifice synergies
- Red-Green (RG): Midrange/Ramp — big creatures that overpower the board
- Green-White (GW): Go-wide — tokens, +1/+1 counters, and pump effects
Don't memorize this list as gospel — it changes every set. Instead, learn to identify the set's archetypes by reading the signpost uncommons during your first few drafts.
Common Draft Mistakes to Avoid
Even experienced players fall into these traps. Being aware of them will immediately improve your results:
- Too many expensive cards: Loading up on 5+ mana spells is the #1 beginner mistake. If you can't play anything until turn 4-5, you'll lose to any deck that curves out.
- Not enough creatures: Aim for at least 14-16 creatures. Non-creature spells are supporting tools, not the main plan.
- Rare-drafting over winning: That $10 rare looks tempting, but picking a card that doesn't fit your deck wastes a valuable slot. Draft to win, not to collect.
- Switching colors too late: If you switch after pack 1, you're wasting all your early picks. Never switch in pack 3 unless you're nearly mono-color.
- Ignoring signals: If great black cards keep getting passed to you but you've already locked into red-white, you're fighting your neighbors instead of cooperating.
- Forgetting sideboard cards: That narrow enchantment removal might be terrible in Game 1 but critical in Game 2. Draft situational answers when you have no better pick.
Sideboarding in Limited
After Game 1, you can swap cards from your drafted pool into your deck. This is a massive edge that many players neglect. Key sideboarding tips:
- Bring in artifact/enchantment removal when you've seen key targets
- Add an extra land if your opponent is slow and you need to hit expensive spells
- Cut your weakest cards, not your curve — maintain your mana distribution
- If your opponent is very aggressive, add your defensive 2-drops and cut your 5+ mana cards
Practice Makes Perfect
The best way to improve at draft is to practice. If you don't have a local game store nearby or want to sharpen your skills between events, try our free MTG Draft Simulator where you can practice drafting against 7 AI opponents from 30 different sets. Pair it with our Draft Tier Lists to learn which cards to prioritize in each set.
Remember: every draft is different. The same card can be a first pick in one draft and a 10th pick in another depending on what's open. Stay flexible, read signals, and trust your curve. Good luck at the table!